

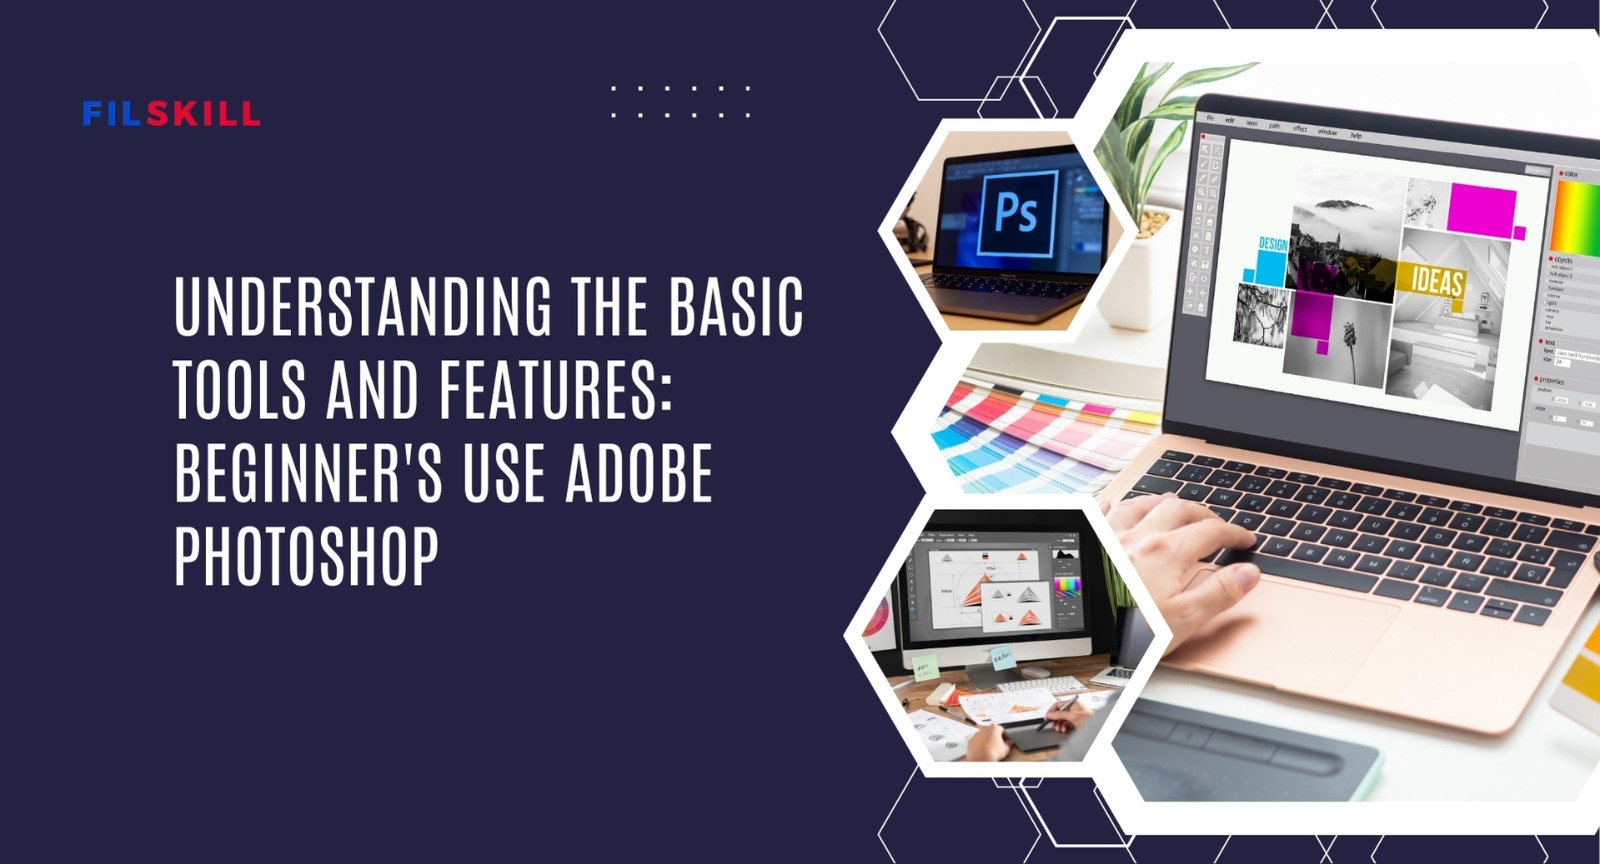
Understanding the Basic Tools and Features: Beginner's Use Adobe Photoshop
If you’re new to Adobe Photoshop, don’t worry! This powerful software might seem complicated at first, but once you understand the basics, it becomes much easier to use. Whether you want to edit photos, create graphics, or design logos, Photoshop has the tools to bring your ideas to life. Let’s go step by step and break down the essential tools and features of Photoshop in simple terms.
Setting Up Your Workspace
Before you start working on a project, it’s important to set up your workspace in a way that makes you comfortable. Photoshop allows you to arrange panels and tools according to your preference. If you like a traditional layout, you can keep everything locked in place. If you prefer floating windows, you can move things around for more flexibility.
For left-handed users, Photoshop offers an option to adjust menus so that they appear on the left side of the screen instead of the right. You can also choose from pre-made workspace templates that are optimized for different types of projects, such as photo editing, graphic design, or web design.
Creating a New Canvas
To start a project, you need to create a new canvas. This is like a blank sheet of paper where you will do all your editing. When setting up your canvas, you need to choose:
- Dimensions (Width & Height) – Decide how big your project should be.
- Resolution– Higher resolution means better image quality.
- Background Type – You can choose a solid color background or a transparent background if you want to overlay your design on other images.
Understanding Layers
Layers are one of the most important features in Photoshop. Think of layers as separate sheets stacked on top of each other. Each element of your design—like text, shapes, or images—can be placed on a different layer, making it easy to edit parts of your project without affecting the rest.
To create a new layer, go to Layer > New Layer. Naming each layer helps keep your project organized. You can also hide, duplicate, or delete layers as needed.
Using Selection
Selection tools allow you to choose specific parts of an image to edit. Some of the most commonly used selection tools are:
- Lasso Tool – Lets you draw a freehand selection around an object.
- Magic Wand Tool – Selects an area of similar colors with one click.
- Quick Selection Tool – Automatically selects objects based on edges.
Selection tools are useful when you want to cut out a person from a background, change colors in a specific area, or apply effects to certain parts of an image.
Adding and Editing Text
With the Type Tool, you can add text to your designs. Simply select the Type Tool (T) from the toolbar, click anywhere on your canvas, and start typing. Photoshop allows you to:
- Change font style and size
- Adjust alignment (left, right, center)
- Add shadows, outlines, and effects to make text stand out
Using Brushes and Colors
The Brush Tool lets you paint on your image just like a digital artist. You can choose from different brush styles, sizes, and textures.
- Eyedropper Tool – Picks up a color from any part of your image.
- Paint Bucket Tool – Fills a selected area with a solid color.
- Gradient Tool – Blends multiple colors together smoothly.
For color selection, Photoshop provides tools like:
Cropping and Resizing Images
The Crop Tool helps you remove unwanted parts of an image. Simply select the tool, drag the edges to adjust the size, and press Enter. If you need to resize an image without cropping, go to Image > Image Size and adjust the dimensions.
Fixing Blemishes and Imperfections
If you want to remove spots, wrinkles, or unwanted objects from an image, Photoshop has some amazing tools:
- Spot Healing Brush Tool – Removes small blemishes with a simple click.
- Clone Stamp Tool – Copies one part of an image and pastes it over another area.
- Patch Tool – Selects and blends a specific part of an image to match its surroundings.
Using Smart Objects
A Smart Object allows you to edit an image without losing quality. If you plan to resize, rotate, or apply effects to an image multiple times, converting it into a Smart Object helps maintain its original quality.
To convert a layer into a Smart Object, simply right-click on the layer and select Convert to Smart Object.
Guides and Grids for Alignment
If you want to make sure elements are evenly spaced and properly aligned, Photoshop provides Grids and Smart Guides. These are especially useful for logo design, website layouts, and print materials.
- Gridlines – Helps you position objects evenly.
- Smart Guides – Automatically snaps elements into place.
To enable grids, go to View > Show > Grid.
Saving and Exporting Your Work
Once you’re happy with your project, you’ll need to save or export it. Here are some common formats:
- PSD (Photoshop Document) – Saves all layers and edits for future modifications.
- JPEG/PNG – Best for web and social media sharing.
- PDF – Useful for printing or sharing a project as a document.
To save your project, go to File > Save As and choose your preferred format.
Final Tips for Photoshop Beginners
- Practice Regularly – The more you use Photoshop, the easier it becomes.
- Use Keyboard Shortcuts – Learn shortcuts like Ctrl+Z (Undo) and Ctrl+S (Save) to speed up your workflow.
- Explore Free Tutorials – Websites like YouTube and Udemy offer great tutorials for beginners.
- Experiment with Tools – Try out different tools and effects to discover what works best for you.
- Don’t Be Afraid to Make Mistakes – Photoshop has an Undo button, so keep experimenting!
Conclusion
Adobe Photoshop is an incredibly powerful tool, but it doesn’t have to be intimidating. By understanding the basic tools and features, you can start creating stunning designs in no time. Whether you’re editing photos, designing graphics, or creating professional projects, Photoshop provides endless possibilities for creativity.
Start exploring and have fun designing!